How to Build Your Own DIY Dog Agility A-Frame Easily at Home
Are you considering constructing a dog agility A-frame of your own? That’s an awesome idea! It’s not only a great way to save your money, but also you can customize the A-frame according to your dog’s size, degree of training, and individual requirements.
But it’s crucial to gather all the necessary supplies before starting any building. Also, you need to know your dog agility a-frame benefits, safety and durability of its material and wood. Let’s dissect all you require to begin working on this thrilling project!
Supplies Required for a DIY Dog Agility A-Frame
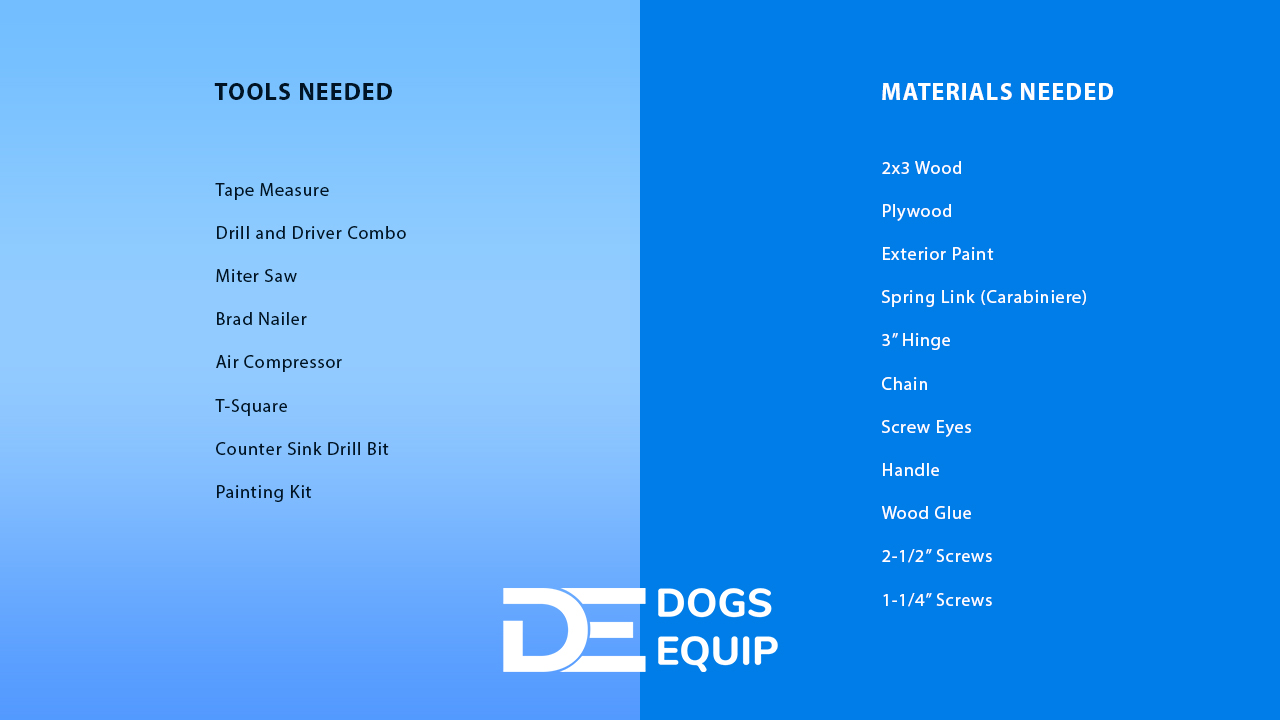
Here is the list of required dog agility a-frame materials and tools along with their direct purchase link and our reviews on each material and tool.
Tools Needed:
Materials Needed:
Selecting the Proper Wood: The Basis for Your A-Frame
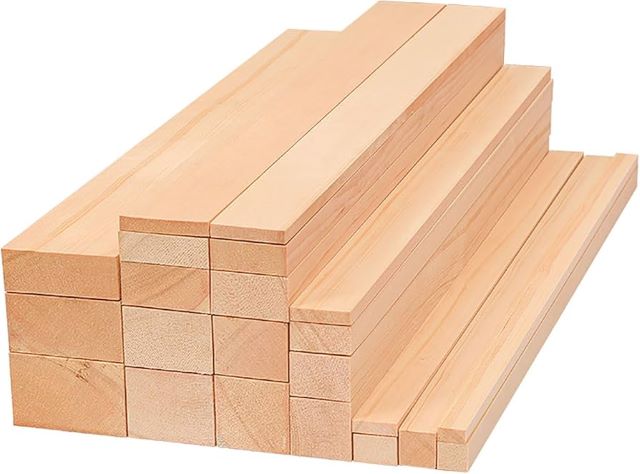
Your dog agility A-frame will use wood for the main structure. Selecting weather-resistant and sturdy wood is crucial, particularly if you intend to leave your A-frame outside. Pressure-treated plywood is a good fit for this type of project.
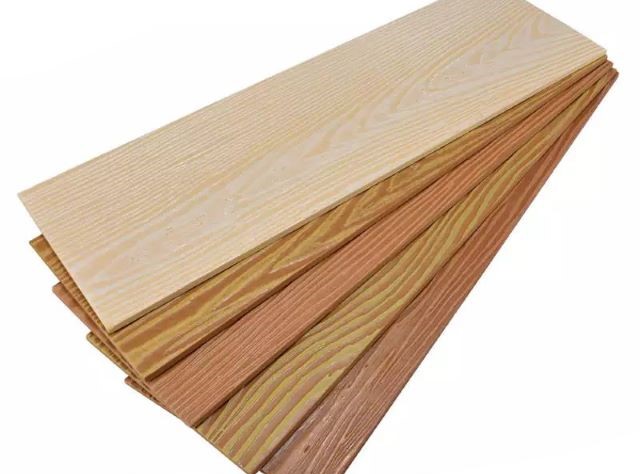
You will require two large sheets of plywood, around 4 by 8 feet. These will make up the A-frame’s two sides. For sturdiness, aim for a thickness of at least ¾ inch. Particularly with larger dogs, thinner plywood might eventually break. Your dog agility A-frame will be safer the more sturdy the wood is.
Remember to use the support beams! Several (around 6) 2×4 boards are required to build a robust frame for your plywood sheets. The A-frame will be stabilized and given the structural strength it needs to withstand numerous training sessions thanks to these beams. To ensure a proper fit, you might need to cut these boards to the desired size for your A-frame.
Hardware: Your A-Frame’s Screws and Bolts
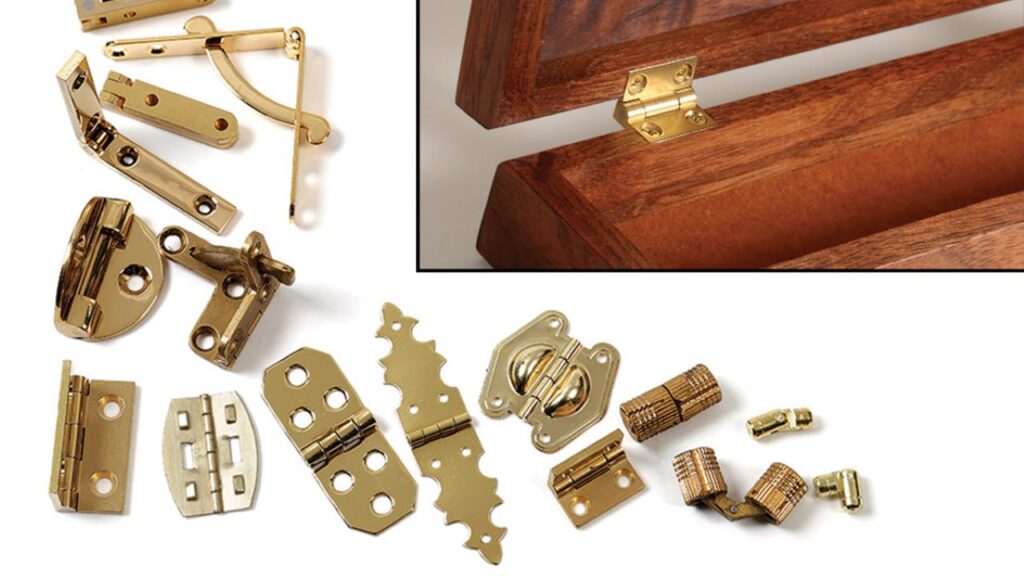
After getting the wood, you will need to consider how to hold everything together. Here’s where hardware becomes relevant. To join the two panels of your dog agility A-frame, you’ll need strong hinges. Seek for sturdy metal hinges that are resistant to weather and repeated use. Your A-frame will be more convenient for you to fold and store when not in use thanks to these hinges.
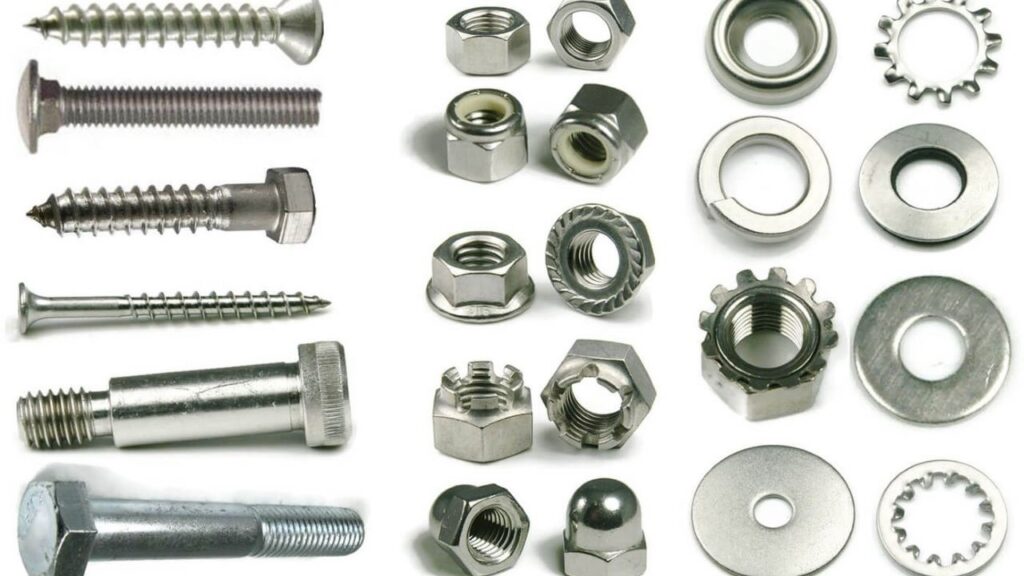
To firmly fasten everything, you’ll also need screws, nuts, and washers in addition to hinges. Wood screws and deck screws are great options because they can handle exposure to the outdoors and are made to prevent rust. Make sure to acquire screws that are sufficiently long to pass through the plywood and into the support beams without protruding on the opposite side.
Remember to consider the rubber or plastic caps for covering the ends of any exposed bolts. These will provide an additional layer of protection, preventing any accidental injuries while your dog is swiftly navigating the A-frame. Prioritize safety at all times!
Traction Materials: Keeping Your Dog Safe on the A-Frame
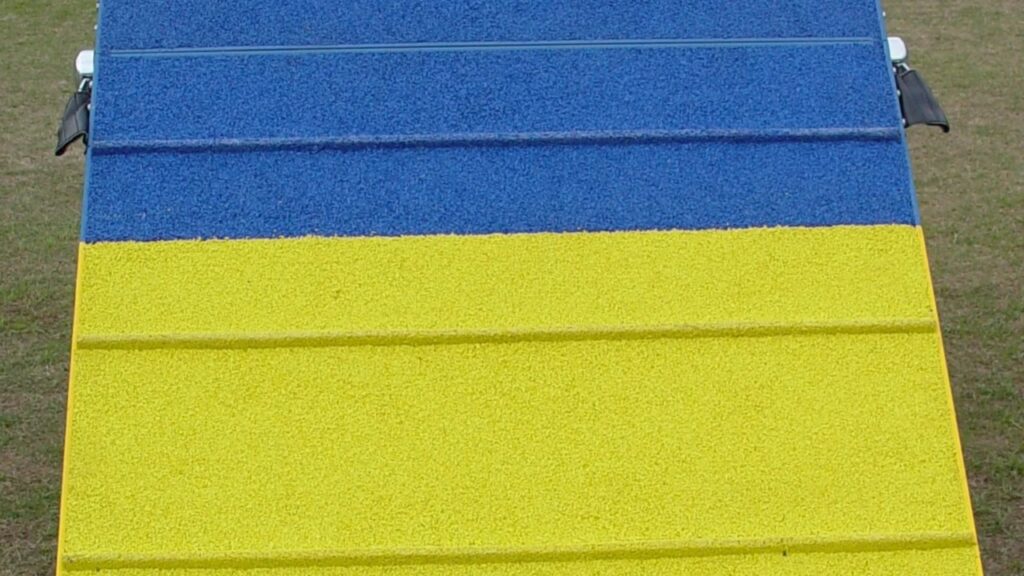
When constructing a dog agility A-frame, it’s important to consider the traction of the surface. The dog should have a good grip, especially during rapid movement or in wet weather.
One popular choice is to use outdoor carpets or rubber matting. These materials can be securely attached to the plywood surface with glue or staples, creating a non-slip area for your dog to ascend. If opting for outdoor carpet, select one with a short, dense pile that is durable and easy to clean, capable of withstanding regular use. Utilizing rubber matting is an excellent option due to its exceptional grip and resistance to weather conditions.
You can also improve traction by incorporating rubber granules or sand into the paint applied on the A-frame. Textured paint specially designed with these granules can be purchased, or you can mix your own by blending non-slip grit with exterior-grade paint.
Additional Accessories for your dog agility A-frame: Don’t Forget the Finishing Touches.
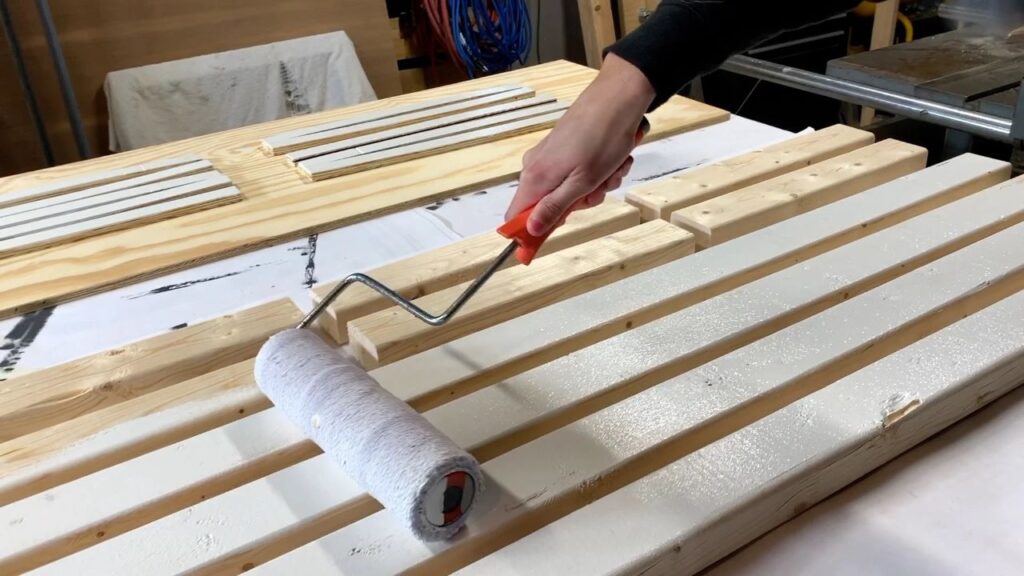
Once you’ve covered the essential materials, it’s important to consider the finishing touches that will truly complete your project. One crucial addition is applying weatherproof sealant to protect the wood from outdoor elements and ensure your (dog agility a-frame benefits, safety, and durability)link this to 2nd post. This sealant will shield the A-frame from moisture, UV rays, and other factors that could cause damage, ultimately preserving your hard work.
For outdoor use, you may want to include removable anchor stakes with your A-frame. These stakes can be inserted into the ground to securely hold the A-frame in place and prevent any shifting during use.
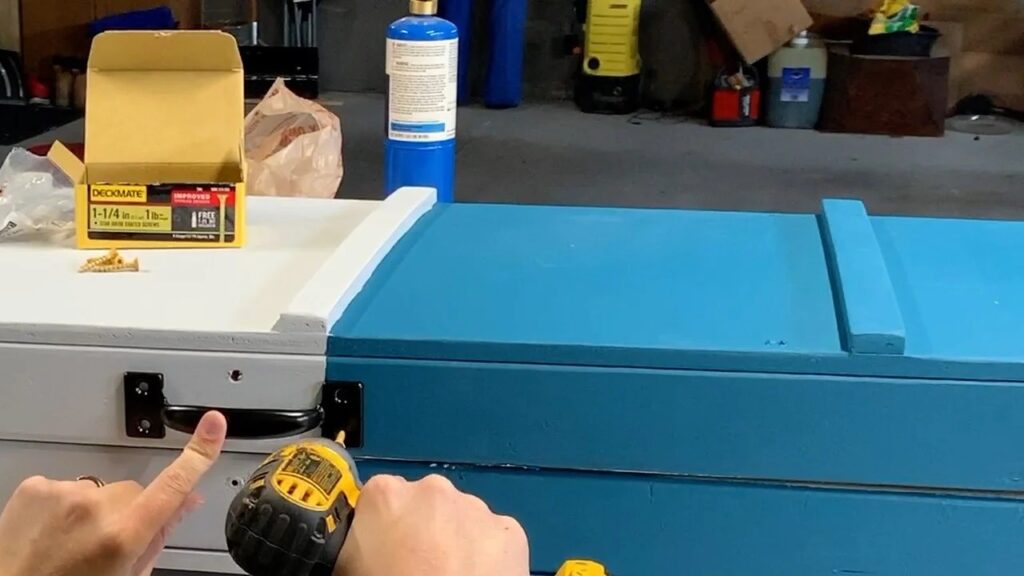
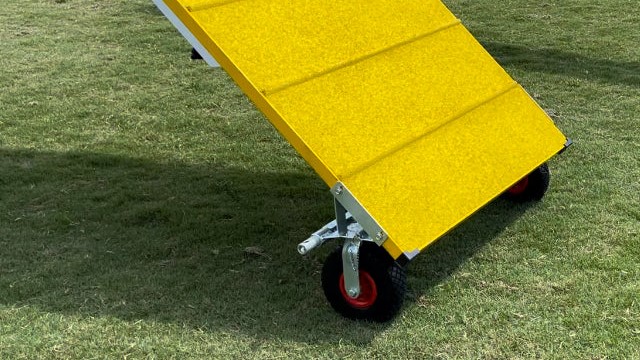
Consider adding a carrying handle or wheels on one end of your A-frame to make transportation easier. These simple additions can make your life much easier if you need to move the equipment around your yard or store it indoors when not in use.
Step-by-Step Instructions for Constructing a Dog Agility A-Frame
Creating your own dog agility A-frame may seem difficult, But it’s completely achievable if you follow the appropriate instructions! This guide will take you step-by-step through the entire procedure, enabling you to build a reliable and secure A-frame that your dog will love. If you simply follow these guidelines, you’ll soon have your very own dog agility equipment in your backyard. Are you prepared to put on some gloves and start building? Now let’s get started!
Step 1: cut the plywood panels.
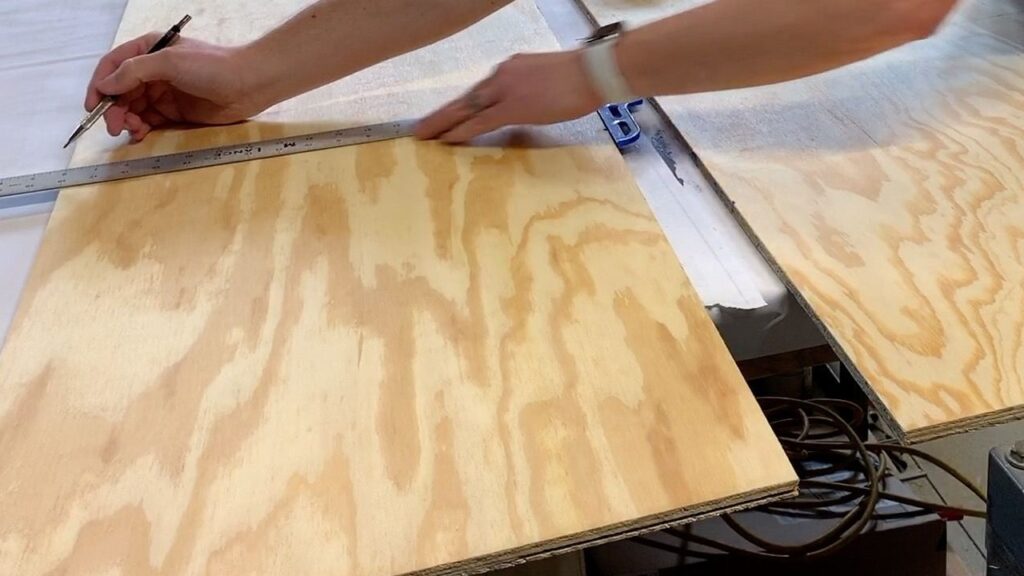
First, you’ll need to cut your plywood panels to the proper size for your dog agility A-frame. To begin, arrange the two plywood sheets that will serve as the A-frame’s two sides. Dog agility A-frames can be customized to fit your dog’s size and demands, but the typical proportions are 3 feet wide by 8 feet long on each side.
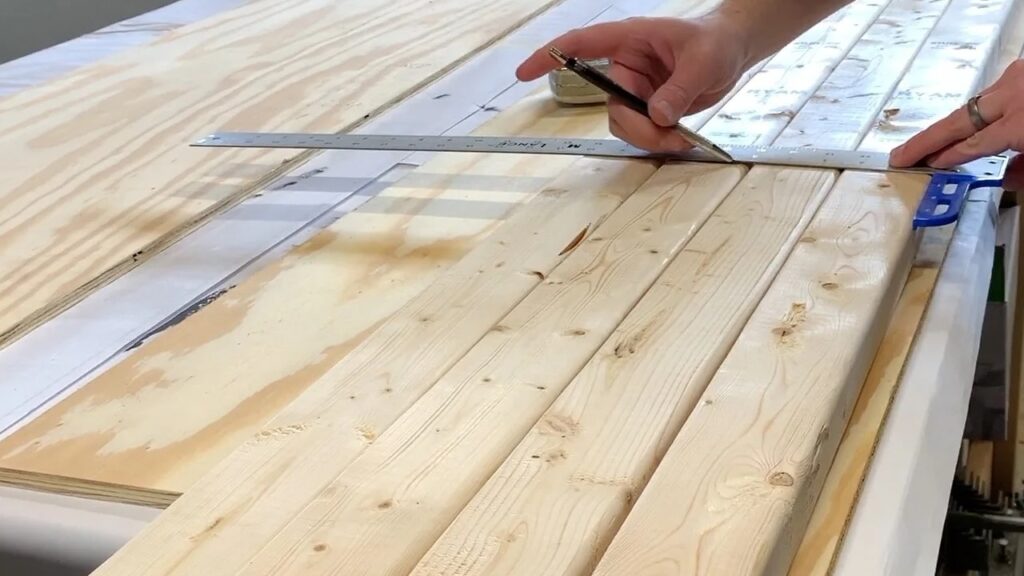
Using a pencil and measuring tape, write the dimensions on the plywood. Then, using a circular saw or jigsaw, gently cut along your marked areas. To ensure that the panels line up correctly when you assemble them, make sure your cuts are as straight as possible.
If you don’t have the necessary tools, consider taking advantage of cutting services offered at many home improvement stores.
Once the panels are cut, it’s important to sand the edges well to eliminate any rough spots. This will ensure that the wood is smooth and safe for your dog to walk on. Once the sanding is complete, the panels are ready for the next step.
Step 2: Putting the Frame Together
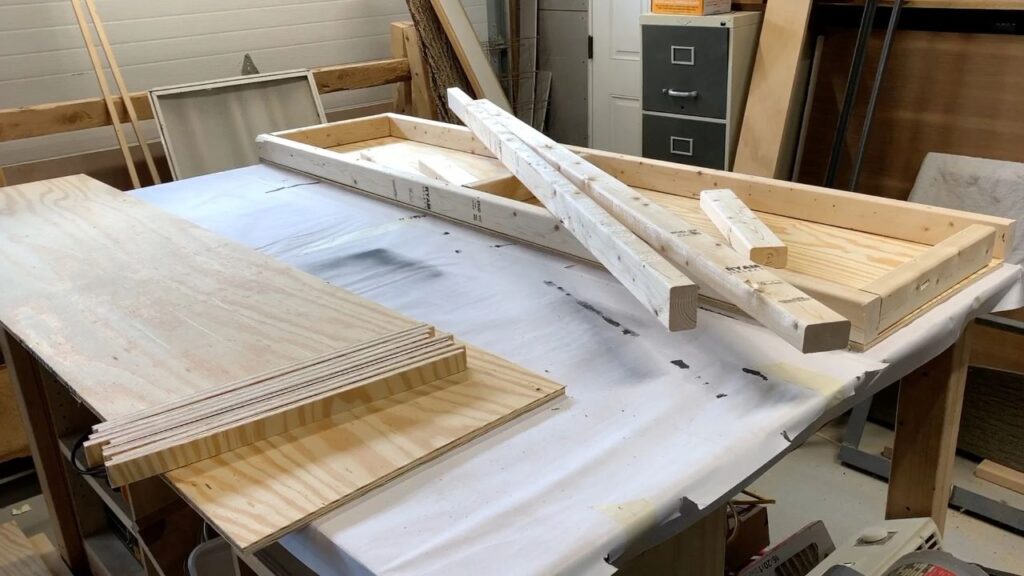
Now that the plywood panels are cut and prepared, the next step is to construct the frame that will support them. This phase involves attaching support beams to the underside of each plywood panel in order to guarantee stability and strength. Several 2×4 boards will be required for this part.
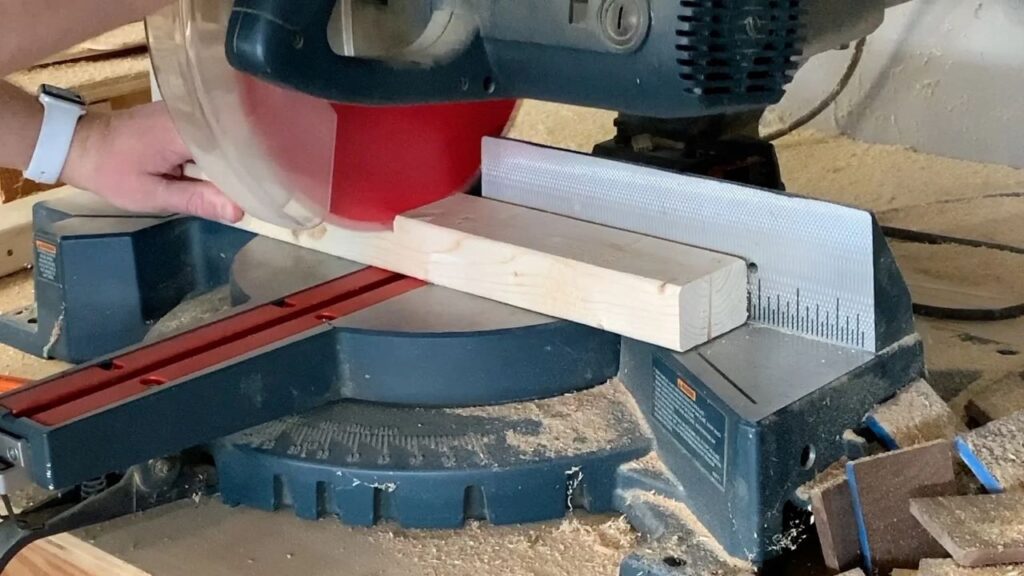
To begin, choose the width of your plywood panels and cut your 2x4s accordingly. By serving as bracing, these beams will prevent the panels from buckling under the weight of your dog. Every plywood sheet should have one beam along the top edge and another along the bottom. For additional support, add a few more beams spaced equally apart.
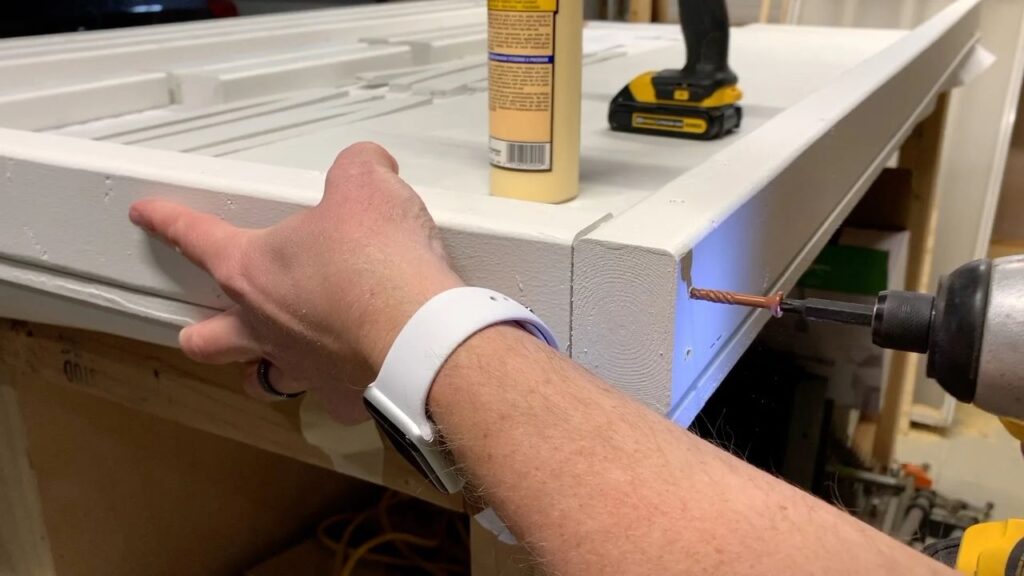
Make sure the beams are properly fastened to the plywood by fastening them with wood screws or deck screws. The stronger your dog agility A-frame, the more stable the support beams are. Avoid overtightening the screws as this may cause the wood to deteriorate. Your A-frame will be almost finished once all the beams are put in place!
Step 3: Adding the Hinges
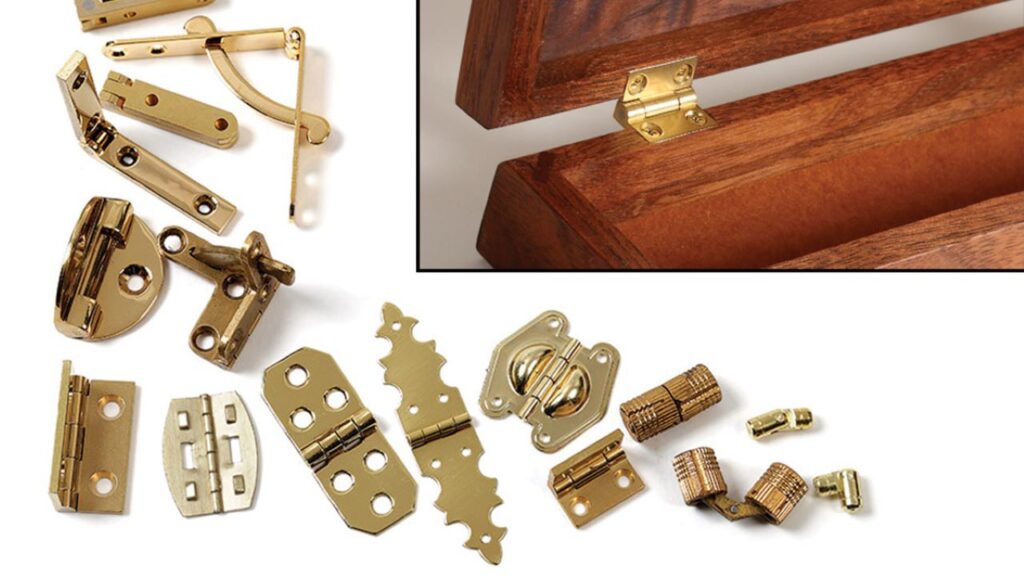
It’s time to attach the hinges that will join your panels now that they are stable and attached. When not in use, the hinges on your dog agility A-frame allow it to fold up in the middle, making storage and transportation simpler.
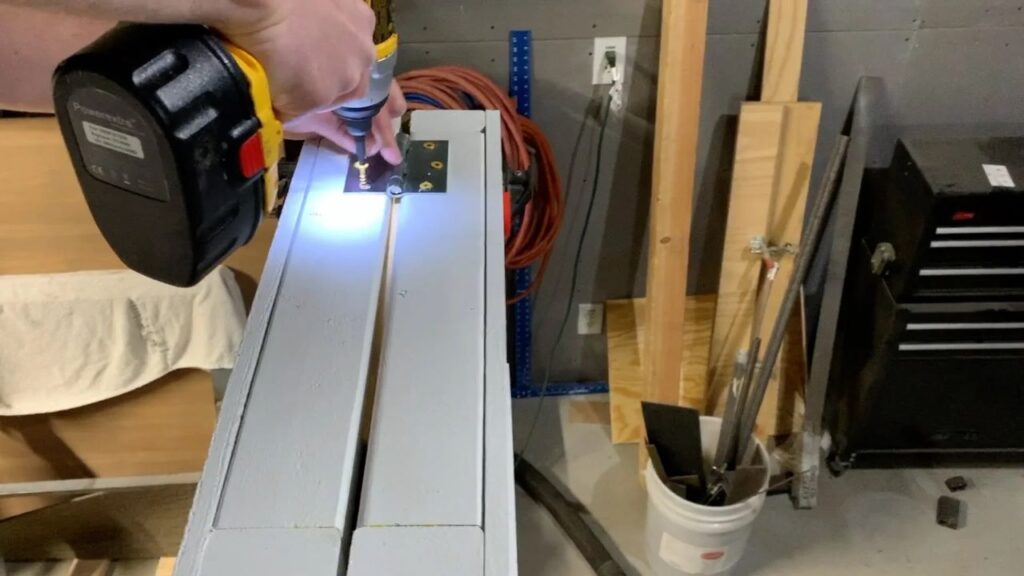
Place the two plywood panels side by side so that their upper edges come into contact. Along the top sides, space the two heavy-duty metal hinges equally from the center. Use strong hinges that can withstand the panels’ weight as well as the force of your dog racing across them.
Secure the hinges to the panels using screws, ensuring proper alignment for smooth folding of the panels. Once the hinges are in place, testing them by carefully opening and closing the A-frame is essential to ensure they function effectively. If the panels fold together correctly, it’s time to proceed to the next step.
Step 4: Including Safety and Traction Elements
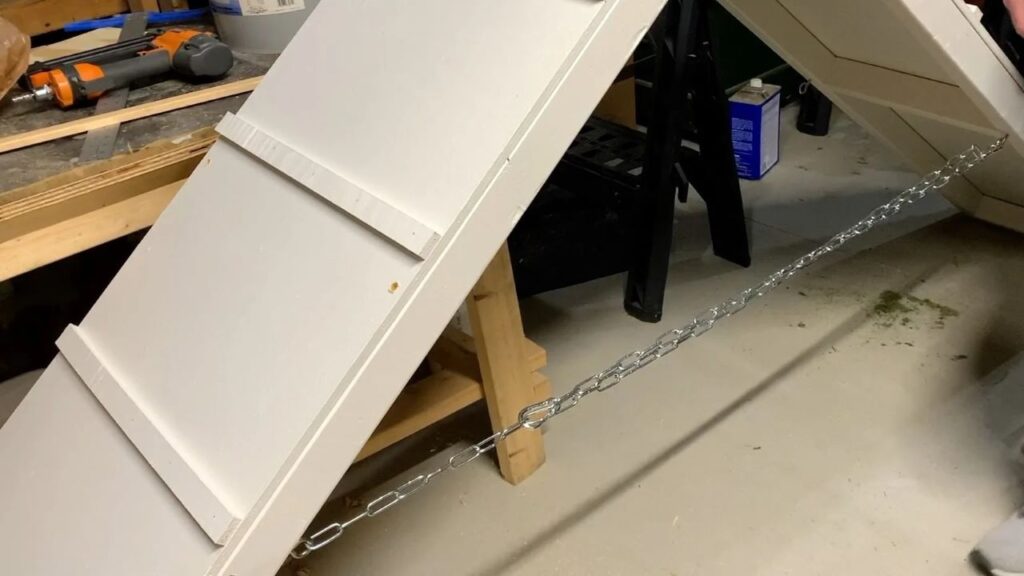
With the primary structure of the dog agility A-frame now complete, the focus should shift to safety features and traction. Traction is crucial for preventing your dog from slipping while climbing the A-frame, especially in wet conditions. You can achieve traction by applying rubber matting, outdoor carpet, or non-slip paint to the plywood panels’ surface.
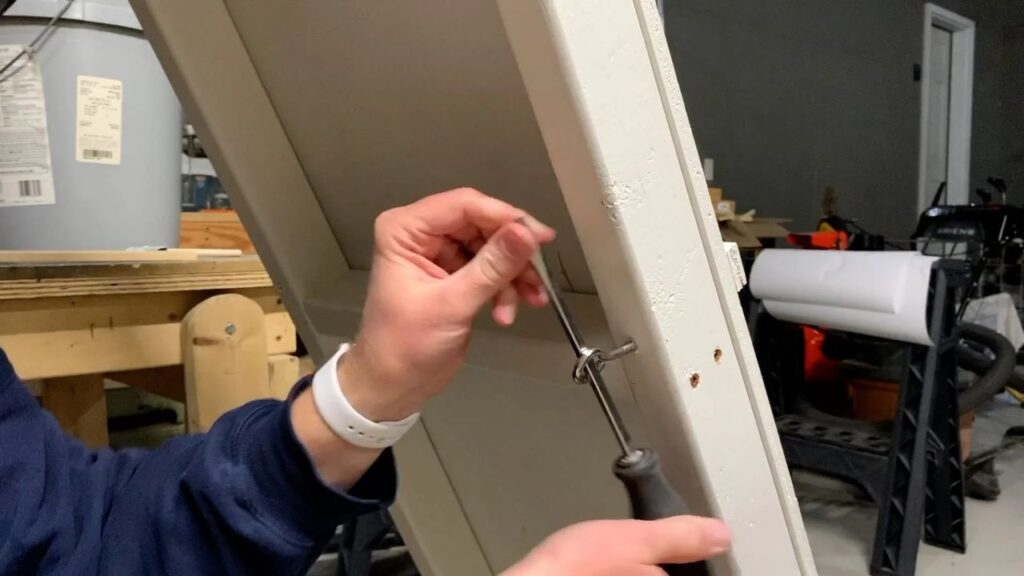
If you’re using rubber matting or outdoor carpet, cut it to suit the panels and fasten it in place with staples or adhesive. Make sure there are no bumps or wrinkles on the surface that could trip up your dog. Add some sand or rubber grains to non-slip paint to give the surface a textured look. Evenly apply the paint to both panels, allowing it to fully dry before putting it to the test on your dog.

Don’t forget to cover any exposed bolts or screw heads with rubber or plastic caps. This will make the A-frame safer to use and shield your dog from any dangerous edges. Any time any type of dog agility equipment is being built, safety comes first!
Step 5: Complete Setup and Touches
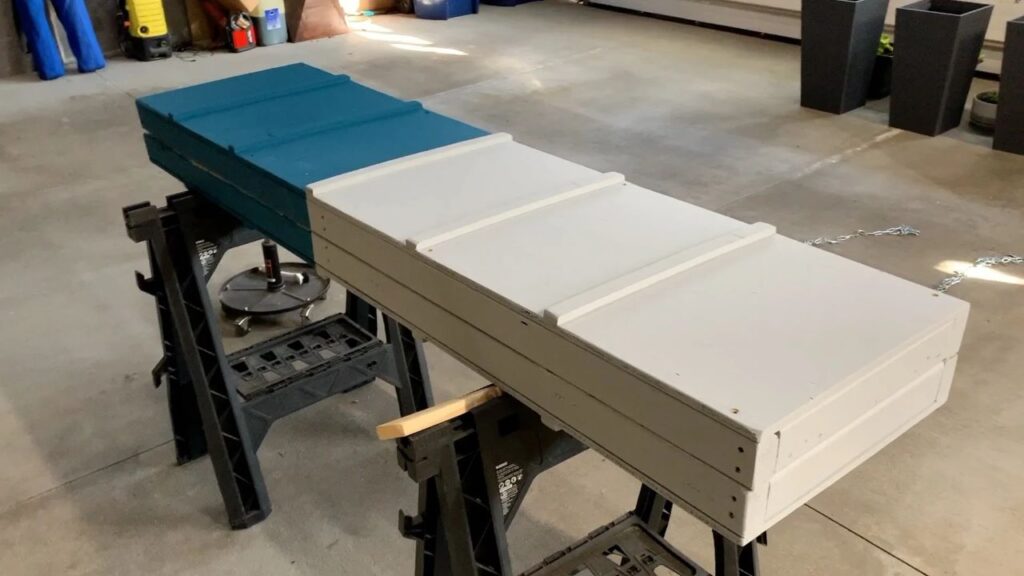
The final step involves adding finishing touches to prepare the dog agility A-frame for use. If the A-frame will be used outdoors, consider applying a weatherproof sealant to safeguard the wood from moisture and UV rays, prolonging its lifespan, especially when exposed to the elements.
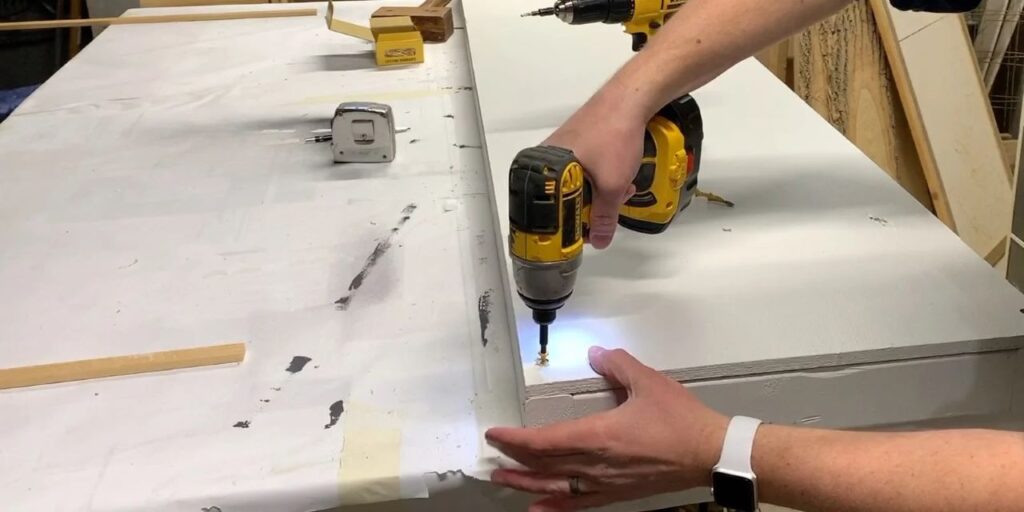
It is now time to position your A-frame in its allotted location after the sealant has dried. Locate a level, sturdy spot in your training area or yard where the A-frame may rest comfortably. Use anchor stakes if necessary to secure it and keep it from moving during training sessions. To make sure your dog has a safe experience, you want your A-frame to be as solid as possible.
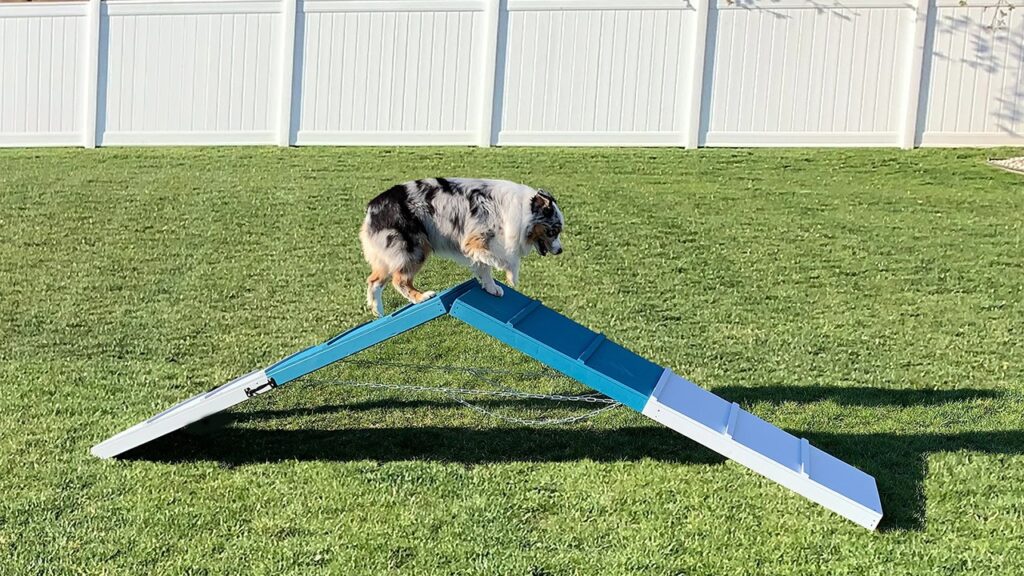
Before allowing your dog to explore the new A-frame, take a moment to inspect your work and ensure everything is firmly attached, and the surface is smooth and safe. Once you are confident in the A-frame’s readiness, it’s time to introduce your dog to their brand-new agility equipment and enjoy the fun part!
Wrapping It Up
Although creating your own dog agility A-frame may require some time and work, the end product is well worth it. These detailed instructions will help you build a durable and secure item of furniture that your dog will adore. With careful attention to detail, you can quickly create your own dog agility A-frame ready for action. Your dog will give you lots of enthusiastic tail wags if you now get your tools, gather your supplies, and start building!
To ensure your dog agility a-frame safety and durability you can follow our this article.


2 Comments